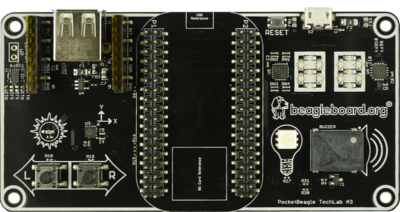


Next-gen pocket-size single-board computer!
PocketBeagle 2 is an upgraded version of the popular PocketBeagle, designed as an ultra-compact, low-cost, and powerful single-board computer (SBC). Targeted at developers, students, and hobbyists, PocketBeagle 2 retains the simplicity and flexibility of its predecessor while delivering enhanced performance and expanded features to support modern development needs. PocketBeagle 2 is ideal for creating IoT devices, robotics projects, and educational applications. Its small form factor and low power consumption make it a versatile platform for embedded development, whether prototyping or deploying at scale.
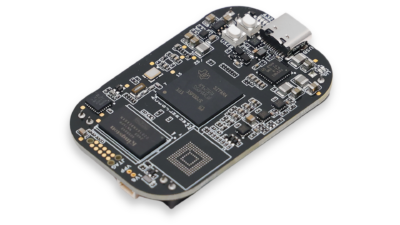
PocketBeagle 2 is based on Texas Instruments AM6254 SoC. Its multiple A53 cores can provide higher performance than the classic PocketBeagle. The new design comes with pre-soldered headers, a 3-pin JST-SH 1.00mm UART debug port, a USB-C port, Texas Instruments MSPM0L1105 Cortex-M0+ MCU for ADC, 512MB RAM, and a LiPo Battery charger.
Update!: Rev A0 shipped with AM6232 (dual-core A53, no GPU), but Rev A1 has shipped with AM6254 (quad-core A53 plus GPU) at no additional cost!